|
Ramps can be tricky to create, but they are a nice thing to have in your map. Things you will need to know in this tutorial are: Basic movement and brush creation.
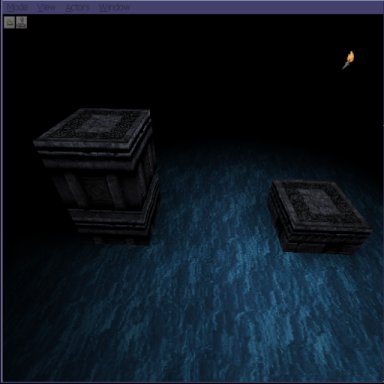
To get started, create a new map. Now create a large square room, and place two pillars in it like shown.
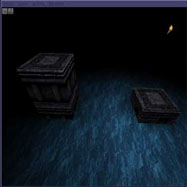
(ramp1 jpg)
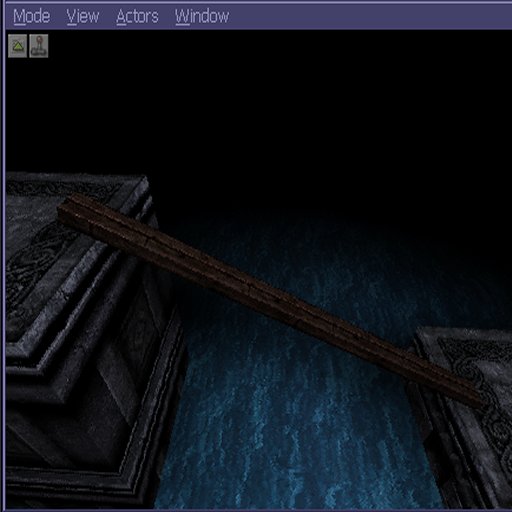
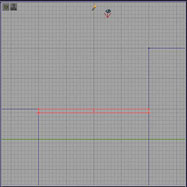
Now there are two ways to do this. Lets start with rotating a plank of wood. Create a brush about 16x32x640. Now, place it on the lower pillar like I have done here.
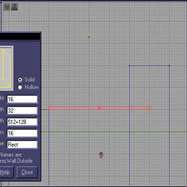
(ramp2 jpg)
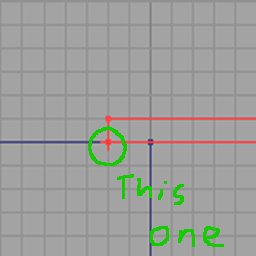
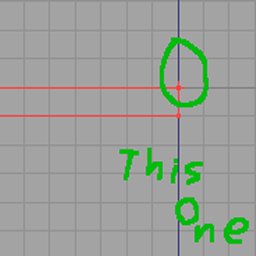
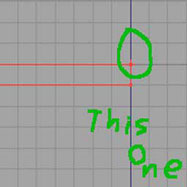
Now we need to select the vertex we want to rotate the plank on. Think of it like placing the hinge on a door. Left click the vertex you want to rotate (note: if you right click, it will snap the brush onto the grid based on that vertex). It should look like this.

(ramp 3jpg)
Now hold Ctrl and the Right mouse button. Drag the mouse to rotate the brush. You'll probably notice that you can get your brush just right. This is because RuneEd sets the rotation grid to be on by default.
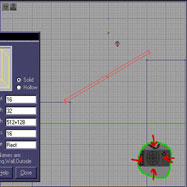
(ramp4 jpg)
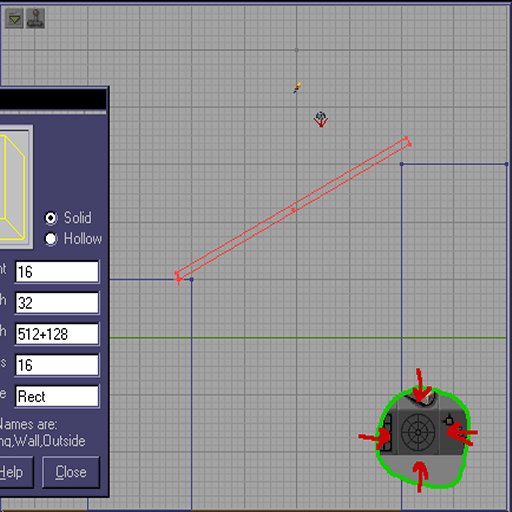
To get that brush rotated precisely where we need it, hop over to the tools on the left of the screen. On the last row, you should see the button I've marked in the last picture. Click that button. You'll now be able rotate the plank freely.
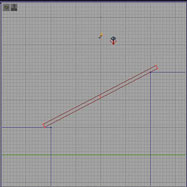
(ramp5 jpg)
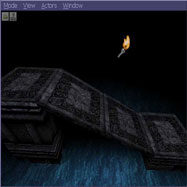
Texture your plank accordingly, and you're done!
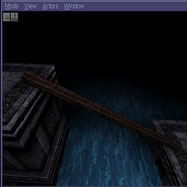
(ramp6 jpg)
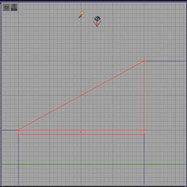
Now here's the other way. Say you don't want a plank, you want an actual ramp. This is how you would do it. Create a brush 16x256x512. Place it between the two pillars as shown.
(ramp7 jpg)
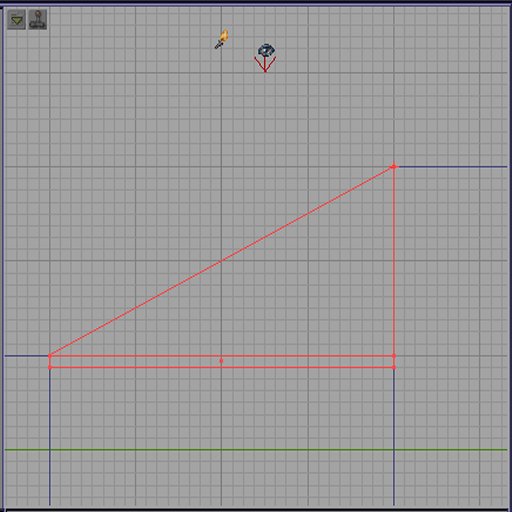
What we're going to do here is a little vertex editing. What we want to do is raise each vertext to meet the top of the taller pillar. Start by selecting the vertex you want to raise.
(ramp 8 jpg)
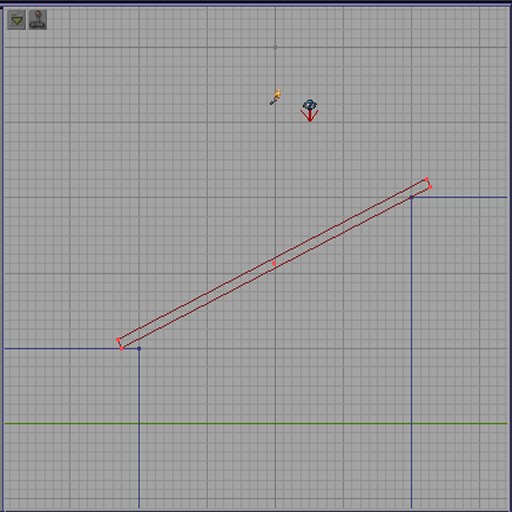
Now hold Alt and the Left mouse button. While still holding, drag your mouse up. This will raise the individual vertex like so.
(ramp 9 jpg)
There should be a vertex where the last one was. Raise this one to the same spot as the one you just moved. Lastly, there should be two more left. place these right below the other two by 16 units, or one grid square. Now simply add and texture your new ramp. If all went well, it should look something like this!
(ramp 10 jpg)
Congratulations! You have just made a nice looking ramp.
[ Click here for printable version ]
|