|
Hi, boys and girls! This "thing" you are reading at the moment is not a tutorial, but more like a Q&A or tips "collection" for the bugs, issues, etc. I've encountered so far. As soon as can, I'll get around with MORE bugs, issues, problems, etc. and will find solutions for them - and pass that info to you.
Assumptions:
You are not a total newbie to modeling, i.e. you know how to create faces, vertexes, etc. - and how to skin.
NOTE: polygon = poly = face
1. Getting the baseframe to work with player models ("Odd looking player model, when placing in RuneED"-issue).
2. Reducing the model poly-count with some tricks.
3. Fixing the wrong-sided face issue (ie the polygon is black instead of light grey in Milkshape).
Getting the baseframe to work with player models
First, I'd like to show you how you can easily prevent yourself from frustration and get a player model to look correct in Rune.
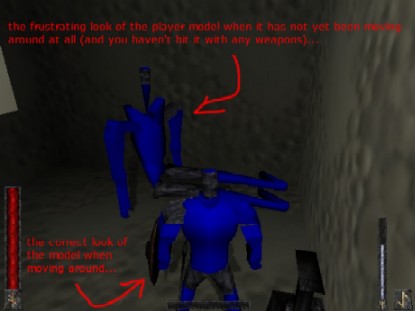
If the model looks odd even when moving around, you've got some joint assigning issues, and I will cover them later.
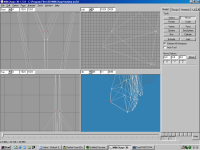
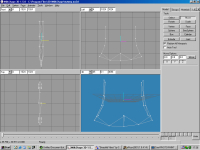
This section is about player models that look okay when moving around, but they look really odd when placing them in RuneEd or summoning them into game. Here's a screenshot of what it might look like. I know it's a bit confusing and doesn't look very clear, but I didn't have any time to mess up any of my player models after getting them work! Also, it's the first model I ever made so don't pay attention to this creepy-looking skin.
The cause of this "oddness" is the model has no baseframe. Actually it has (in some cases not), but it's somewhat messed up. This is because when you are exporting a player model from Milkshape using Gwynhala's Rune SuperCoolModel export tool, you use the default values (it happens when you click cancel for these Rune Sequence tweaks file etc boxes).
It's OK to use default values if you don't use any custom animations. And that's what most of you do - you don't use any custom animations. The only thing is you don't have a baseframe in your model stored.
Yeah, the model looks like it's supposed to look with the baseframe in Milkshape, BUT it's not storing info for the baseframe. Maybe this sounds too confusing and to tell the truth, you don't need to know this to fix the issue. But I think it might help you to know.
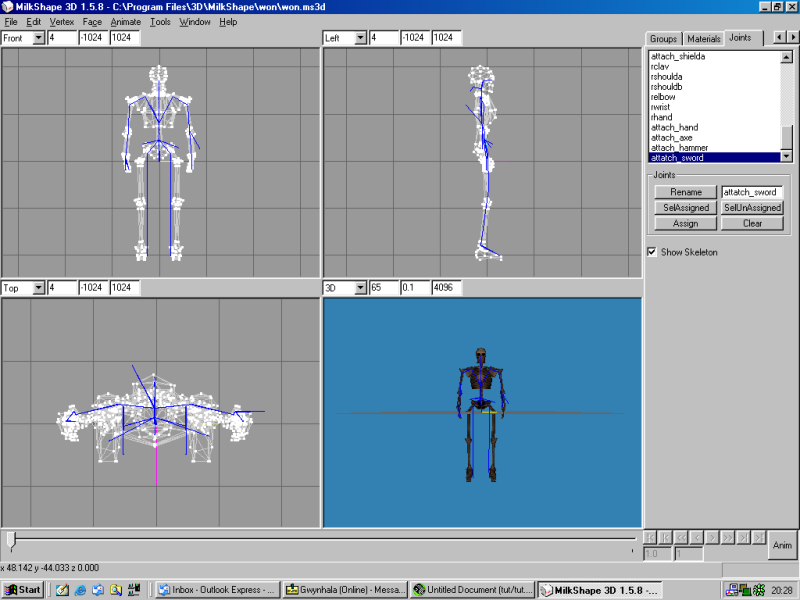
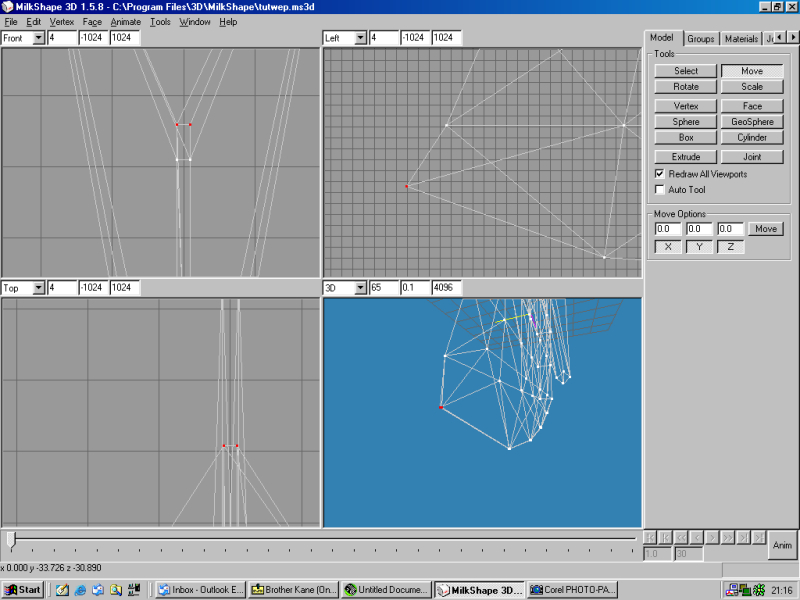
OK, let's fix that thing right away. Open up your Milkshape, and load your player model, as you can see I've loaded my Skeleton Warrior, which will show up in the Co-op patch soon!
Now, I hope you have all the vertexes assigned to joints and everything is OK to do some "asta la vista."
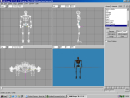
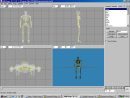
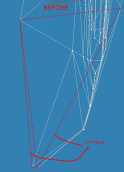
First, if you can't see the skeleton (the joints and stuff, not my skeleton warrior, hehe) go to Joints tab on the right top of the Milkshape window and make sure the Show Skeleton box is checked. You should see the Rune Player Skeleton (for the sake of time, let's agree that Rune Player skeleton is from now on just skeleton and my Skeleton Warriot is model). You should see something like this:

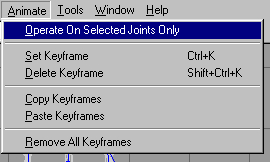
Okay, now let's get to animation mode. Click on the ANIM button at the bottom right. Now, make sure that the Operate On Selected Joints Only in the Animate menu is unchecked. If this is checked the animation (currently just the baseframe for the model) won't work.
Go to the Joints tab again and select Base joint -the blue skeleton should turn into green now, like this:

All you need to do now is to go to Animate menu and click on Set Keyframe. The skeleton should turn into yellow. Yellow indicates that the frame currently selected is a keyframe. And that's all you have to do! Save your model and export into SCM.

NOTE: When You now export the model to SCM, it won't display these warnings about joints and keyframes anymore.
If you place your model in RuneED or summon it into game, it looks just fine.
Reducing the model poly-count with some tricks.
Created a model and poly-count is too high? Here are some tips and tricks which might help you out. When I was modeling weapons for the Thor's Hammer mod, I reduced the poly-count about 30-50 sometimes (usually just 5-20) but every poly counts!
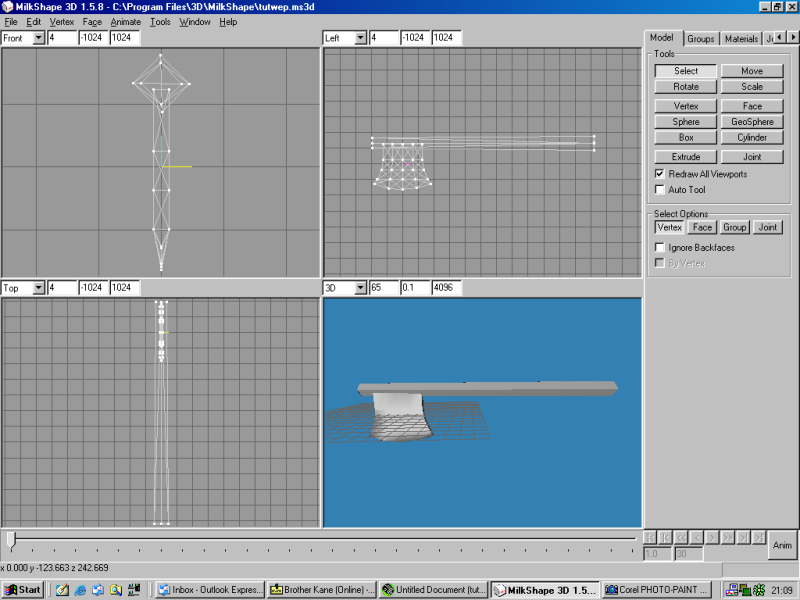
I've created an axe with a nice blade especially for this tutorial (don't you just love me). And here it is:

As you can see the blade consists of lots of polys. The blade looks sharp, but there is a way we can make it even sharper and therefore also reducing poly-count!
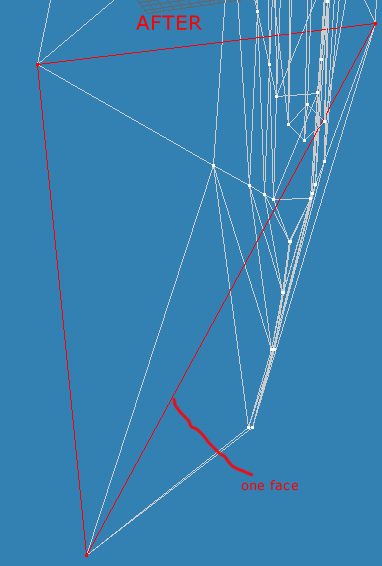
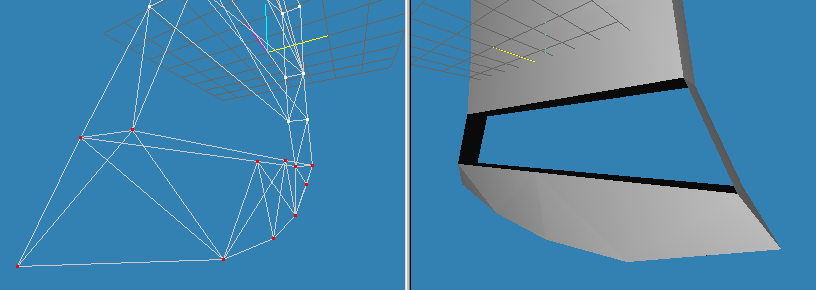
You might notice that the blade actually consists of two vertexes per a point. Take a look:
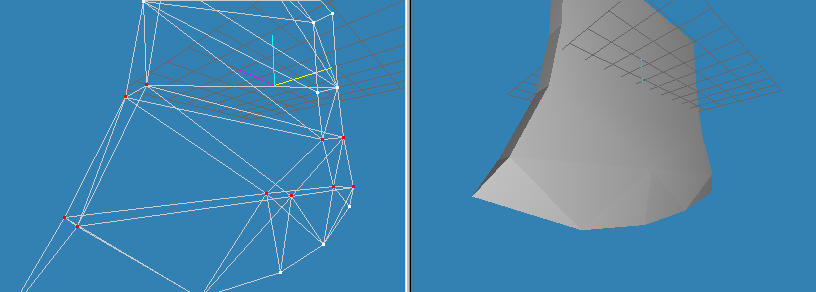
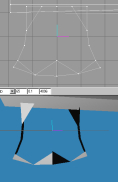
If we snap these vertexes together and weld them together, it will reduce the count of vertexes and also poly-count. Here are two pictures to explain the thing for you. The first is before vertex welding and the second is after vertex welding:

To snap and weld a pair of vertexes, select the vertexes, then go to Vertex menu. Click on Snap Together and then click on Weld Together. You should notice a slight change in your model, but it looks almost the same. Yet we have one less vertex and polygon (face)!
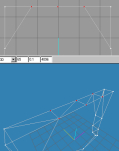
I did this for all the vertexes on the blade. Next step, we can reduce the amount of polys by removing the unnecessary polys. What I do is select all the vertexes "inside" the blade, like this:

And delete them.
As you see, some of the polys are still there and you may notice there are five vertexes at the top of the blade (actually 10, because there's another side too). We need only two (four with the other side), so we delete the unnecessary ones.
Now my blade looks like this (the shaft is hidden cause it was pretty annoying):
OK, let's start making faces. I hope you know how to do this.
I suggest you try to figure out the way you could use as little faces as possible and also not messing up the look of your weapon. Here are four progress screenshots of my face-creating so you can understand what I mean:


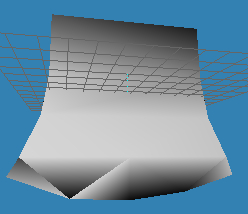
Your model should look something like this after face-creating (the odd shading):
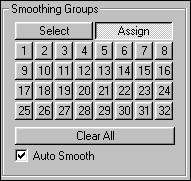
You have to assign one Smoothing Group to all the faces in that blade (or whatever thing is looking like that for you). To do this, simply go to the Groups tab, select all the faces on that blade, and at the part saying "Smoothing Groups" click Assign and then on a number, for example, 1.
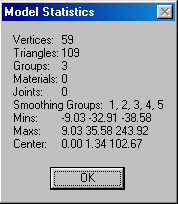
And Vóila! Here's my blade - note that the poly-count has dropped from 109 to 54! That's half! And the model looks as good as it looked before!

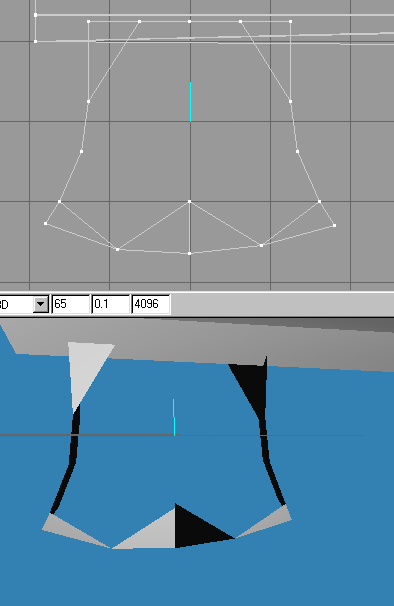
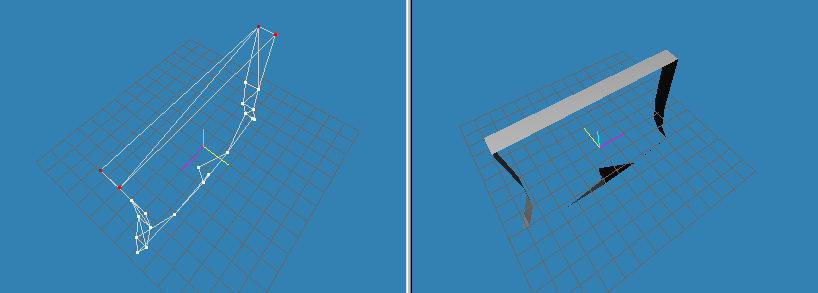
Fixing the wrong-sided face issue
NOTE: Wrong-sided faces show up in 3DS MAX as transparent.
OK, this is easy. Select the face that is wrong-sided. If you can't select it with the By Vertex box checked, try selecting it with that box unchecked.
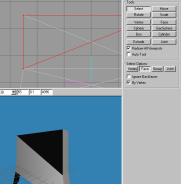
If you have your face selected, go to the Face menu and click on Reverse Vertex Order.
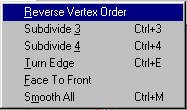
That's it!
[ Click here for printable version ]
|